

Living in Florida, I am inspired often by the scenery here, especially the beach. This bracelet/anklet incorporates the blues and greens of the ocean and also some of the interesting creatures contained within it. It’s one of my most favorite pieces and seemed like the perfect one to write (my first ever) tutorial on. It’s pretty easy to make, using just the most basic of jewelry-making techniques. Even if you’ve never made a piece of jewelry before you will be able to do this.
First things first, gather your supplies. I bought everything to make this bracelet/anklet at Michael’s, Hobby Lobby and Walmart. You will need:

- chain nose pliers for opening and closing jump rings
- crimping pliers
- wire cutters for cutting the stringing wire
- beading wire – for this project make sure you get the 0.3 mm size otherwise both strands won’t fit through the wire guard
- curved metal beads like these from Hobby Lobby
- charms of your choice (I used these)
- beads of your choice
- 3 (6 mm) jump rings
- 2 (4 mm) jump rings
- 2 wire guardians
- 2 crimp tubes
- 2 crimp covers
- a toggle clasp (or another style if you prefer)
Next cut 2 lengths of wire about 12″. Thread both pieces of wire through a crimp tube and then through one side of a wire guardian. Then thread through the other side of the wire guardian and back down through the crimp tube.


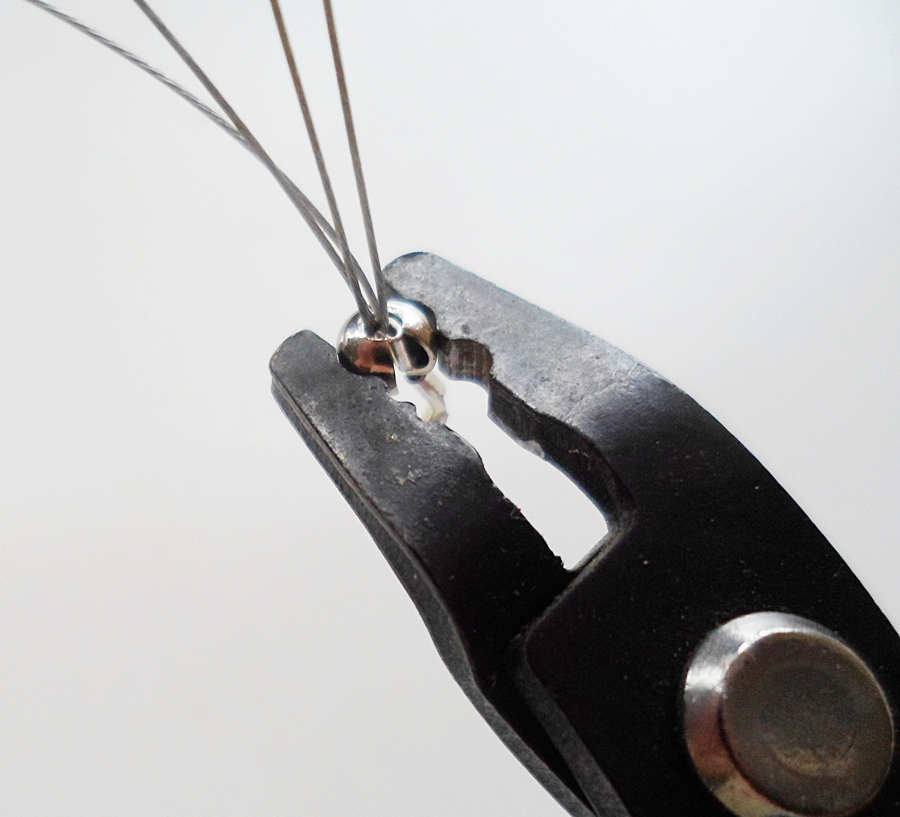
Now it’s time to crimp the tube. This is an important step in most every piece of jewelry made with wire. You can find detailed instructions on the proper way to crimp here. Basically, you use the crimping pliers to flatten the tube in the notch closest to the handles and then turn it sideways and flatten it in the first notch of the pliers.


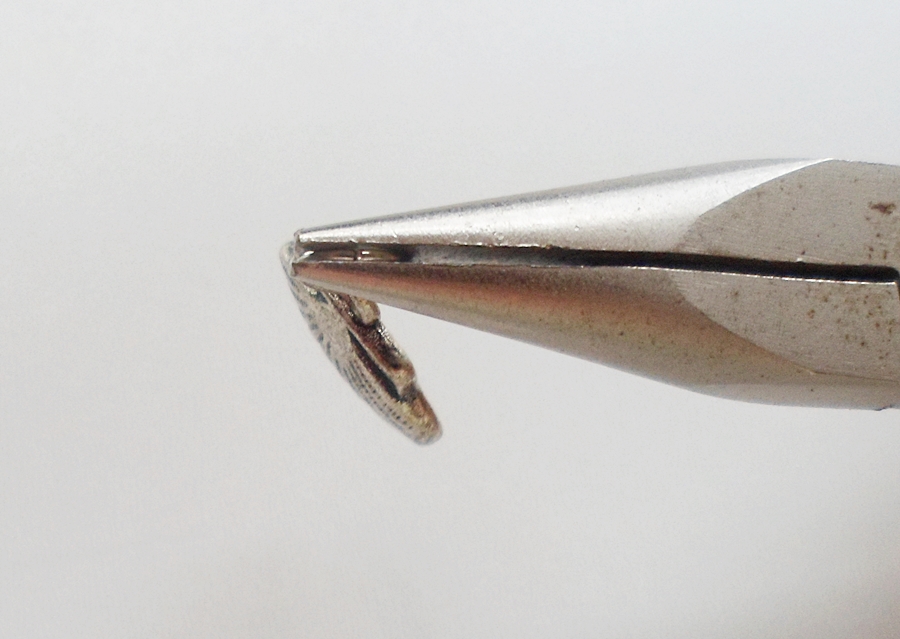
You want to make sure the wires don’t cross each other inside the crimp tube. Next it’s time to add the crimp cover. This gives the piece a nice finished look by hiding the crimp tube. Simply place the crimped tube inside the cover and use the crimping pliers to close the crimp cover around it.

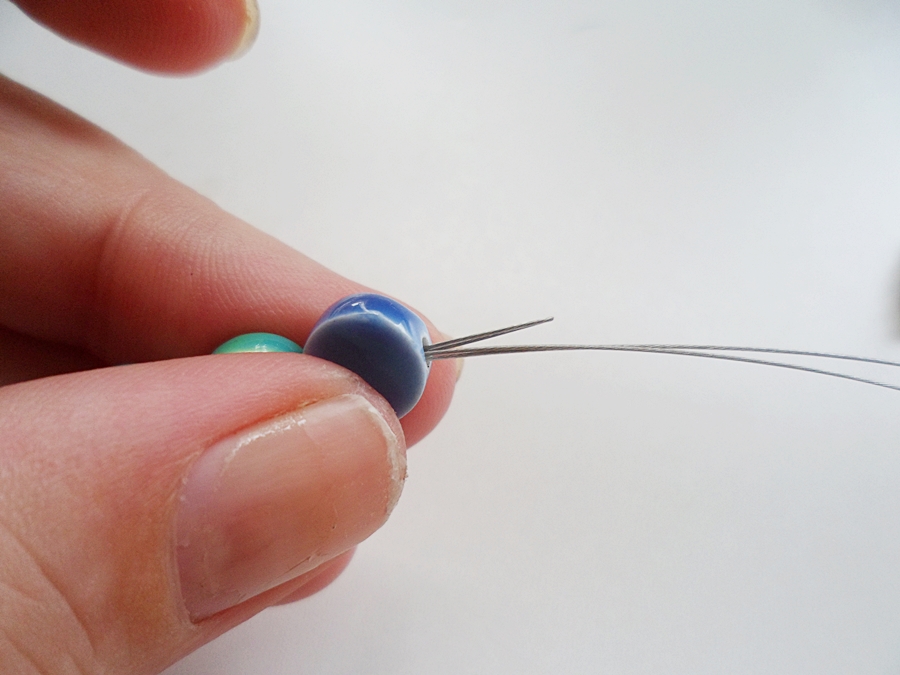
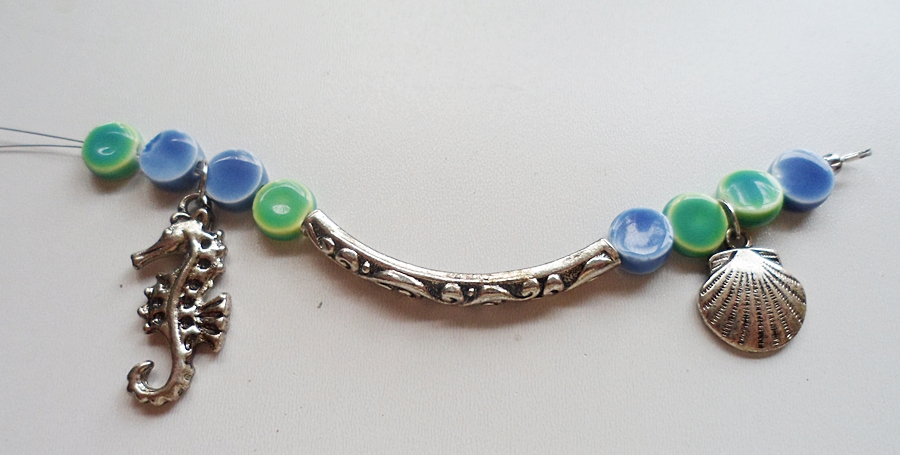
Now the fun part. String two beads (I used one blue and one green, but you use whatever color you want). 
And add a charm. First, open a 6 mm jump ring. Always open a jump ring by pushing one end forward and the other in the opposite direction, either using 2 pairs of chain nose pliers or using one pair and the tip of your forefinger and your thumb. Never pull a jump ring open as it distorts the shape and weakens the metal.
Slip the charm on and squeeze the jump ring shut with the chain nose pliers.

Then string it on after the two beads and add two more beads. I alternated the colors of the beads I used, but again do it however you want. If you want to use all the same color or more than 2 colors, go for it.

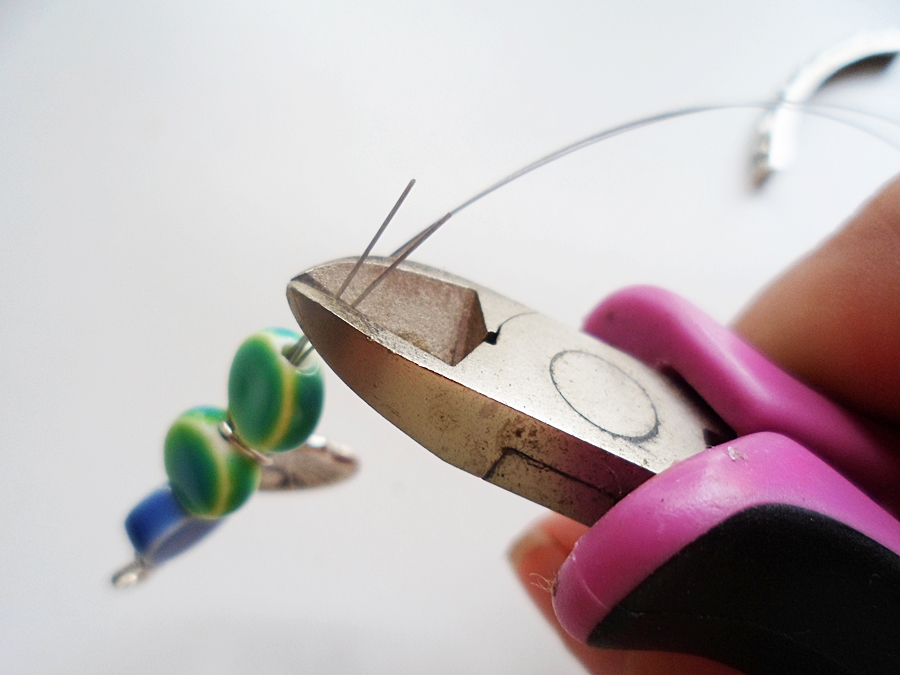
Now if the wire extends past the beads you have strung to this point, take the wire cutters and snip a little off so they are hidden behind the last bead you strung. This way they won’t be in the way as you go to string the curved bead next.
The curved bead I chose has two holes so string one piece of wire through each hole. You may need to use your chain nose pliers to guide the wire through the holes.


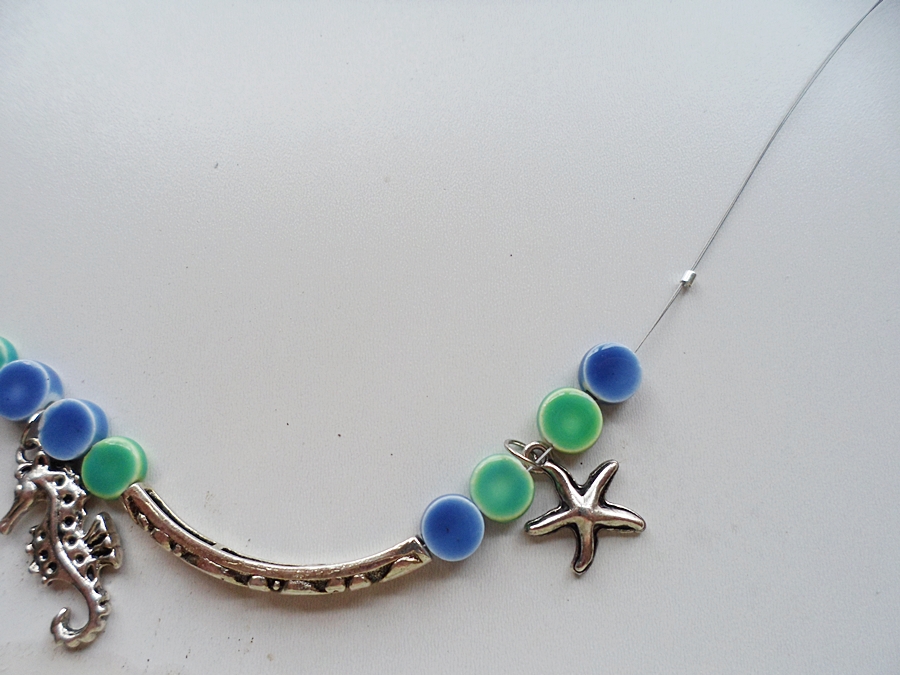
Now just continue adding beads and charms like in the last step, then another curved bead and another set of beads and a charm, followed by the other crimp tube.
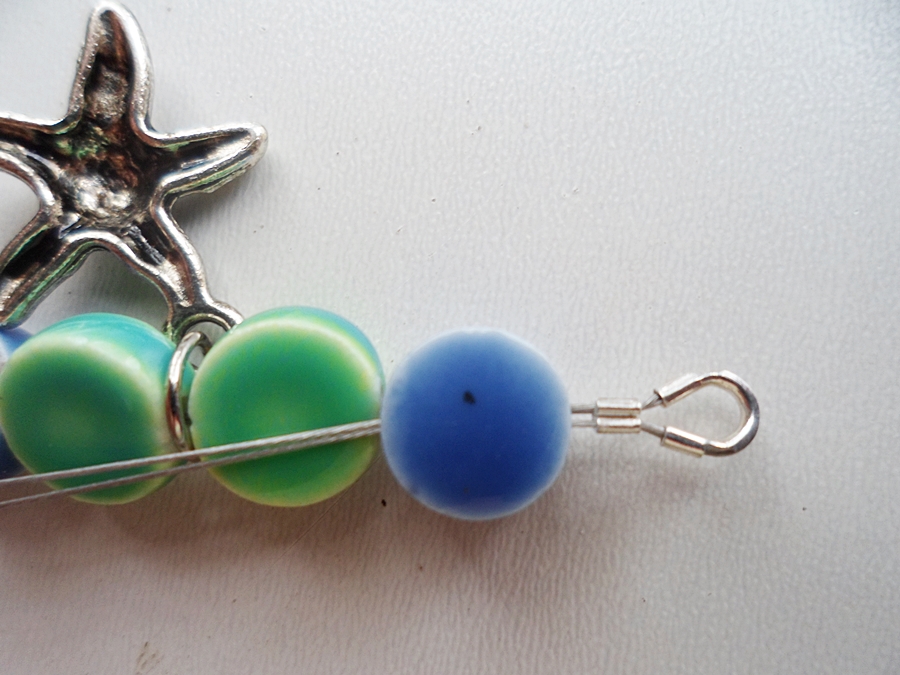
Thread the wires through the other wire guardian and back down through the crimp tube as before and pull it snug. It’s a little tricky to get it snug; I usually grip the wire guardian with my thumb and forefinger and use the chain nose pliers to pull the wires down. Just keep wiggling and working the wire down until it’s how you want it.
Then crimp the tube as before and add the crimp cover. You’re almost done!
Trim the excess wire with your wire cutters and now it’s time to add the clasp. Using your chain nose pliers add a 4 mm jump ring and one side of the clasp. I like toggle clasps because I find them easiest to use, but you use whatever clasp you like best. Add one side of the clasp to one side of the bracelet and the other side of the clasp to the other side of the bracelet.

And voila, you’re finished! 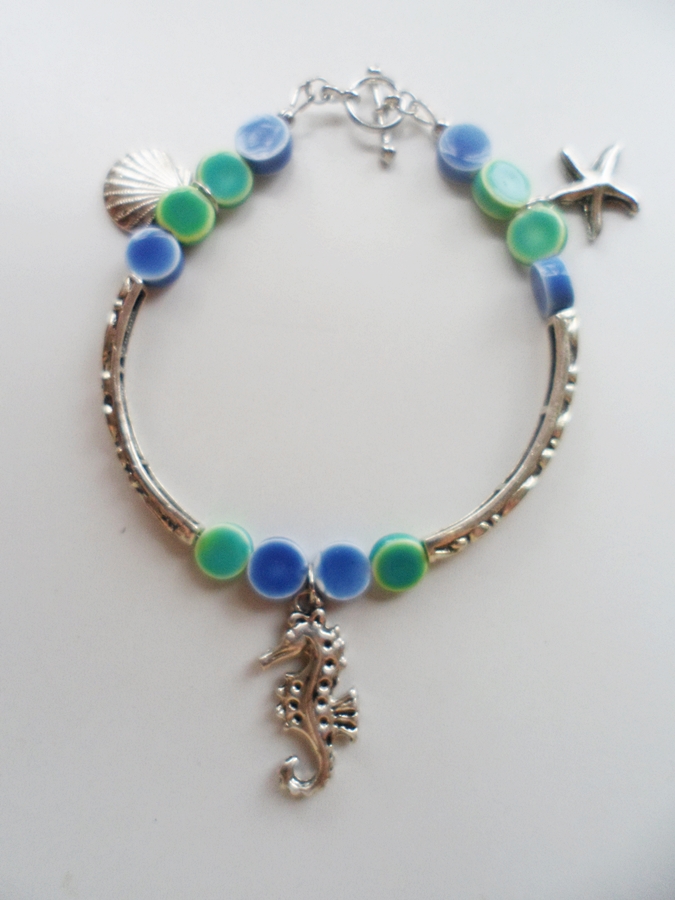
I have made other versions of this bracelet/anklet with other charms and beads. One of my favorites was with some beads that reminded me of the sky and some birds in flight. You can use any theme you like. I would love to see your versions!
This is the first tutorial I have ever written and I hope it was helpful. Feel free to comment below with any questions or share any pictures of your creations using this tutorial.

